
What happens when you purchase software like Adobe Photoshop and you are locked out with no RAW image reader support. You look elsewhere.

[•] Fujifilm X-H1 with Pentax Takumar 55mm F2
Capture One is dedicated to supporting Fujifilm RAW files so lets have a look at what we can do with this software compared to Photoshop.

[•] Capture One Library
The program by itself is very clean and simple to use. Top left has a library icon to access your RAW folders and import directly for viewing.

[•] Capture One Quick View
White Balance, Exposure, High Dynamic Range, Black & White control and Clarity. The control of these settings direct to your fingertips and a welcome addition. Especially the Black and white adjustment section.

[•] Capture One Lens
Crop, Rotation & Flip, Lens Correction, Purple Fringing and Vignetting.

[•] Capture One Color
Base Characteristics and Colour Editor. I’ll ignore White Balance and Black & White as duplicate controls but none the less handy with that page design.
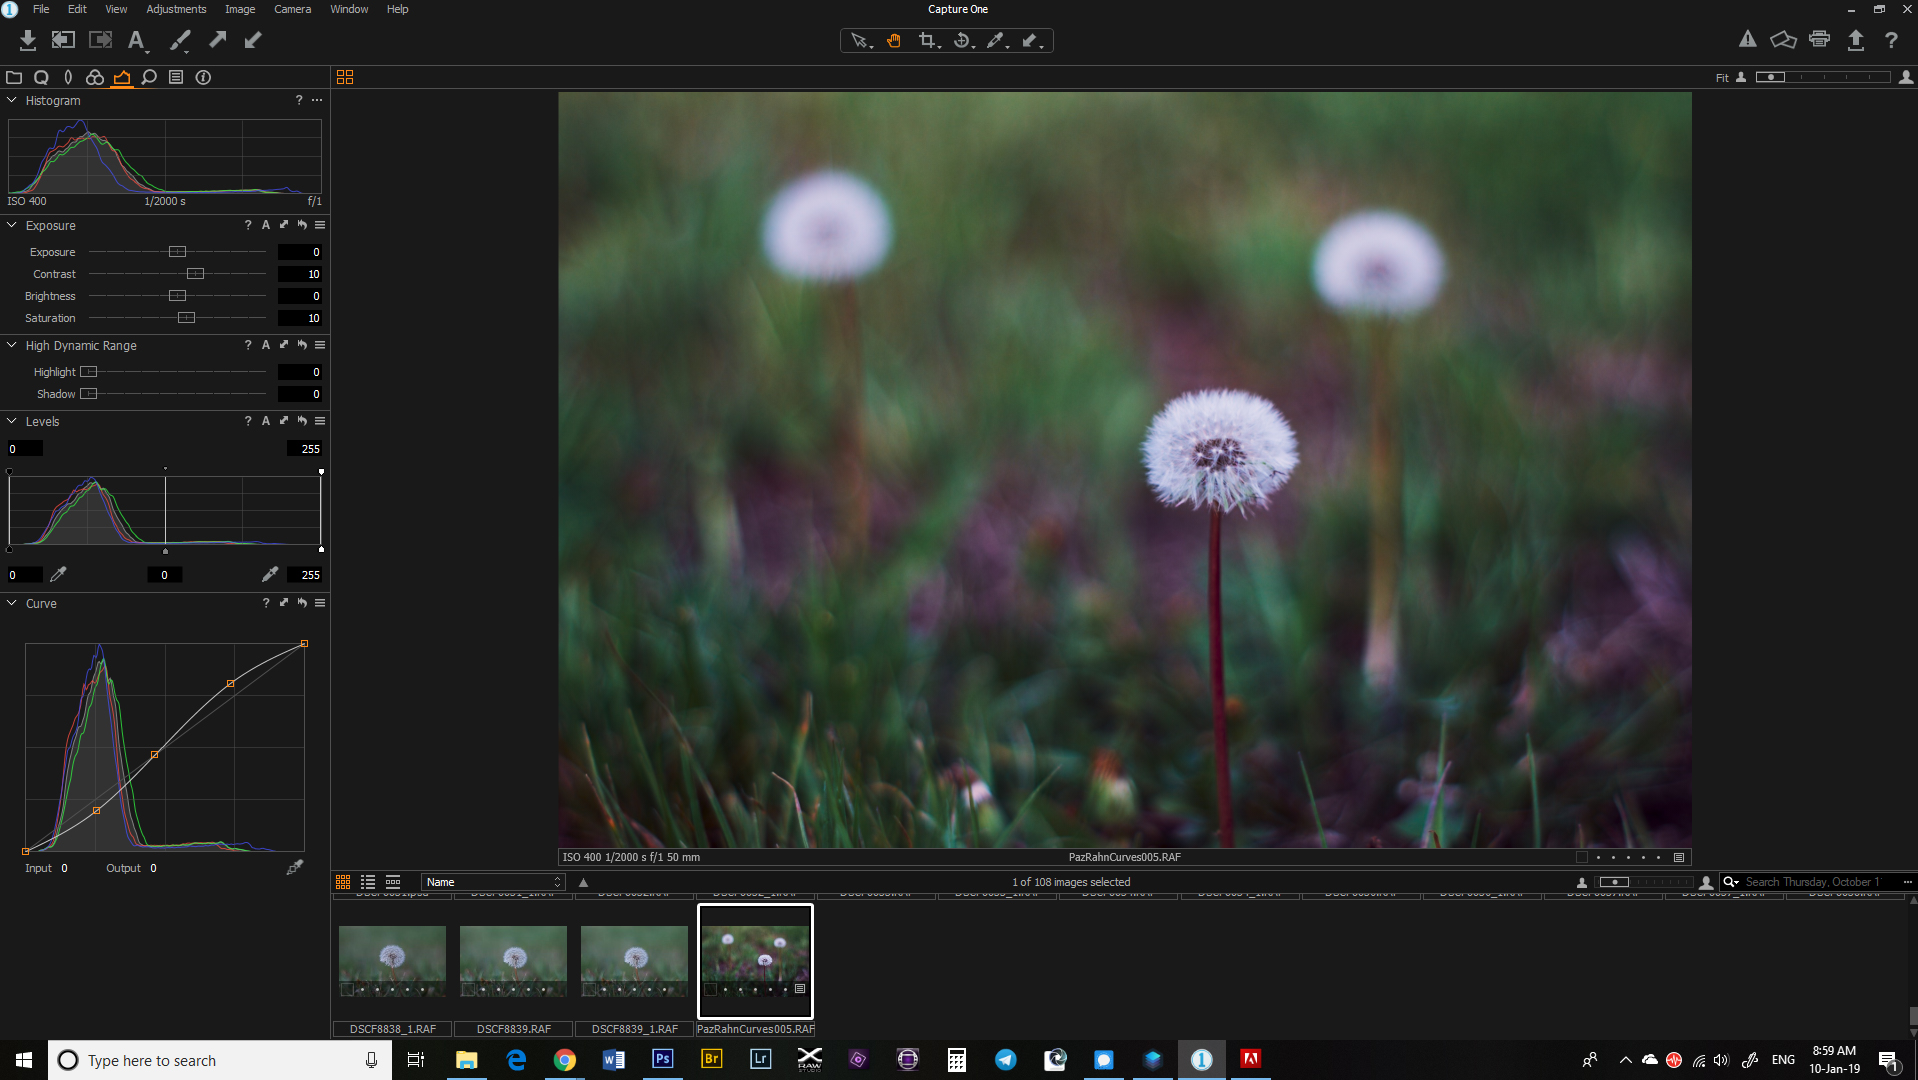
[•] Capture One Exposure
Exposure Tab – Histogram, Exposure, High Dynamic Range, Levels and Curves. Ok Curves and customisation is the feature that means the most to me. You can add custom curves just like photoshop and once setup can toggle between each saved curve by clicking the hamburger icon and just selecting your saved curve.
The last three tab options include Details, Adjustments and Metadata. Overall using Capture One is an easy transition for editing your RAW image files and a keeper in my book.
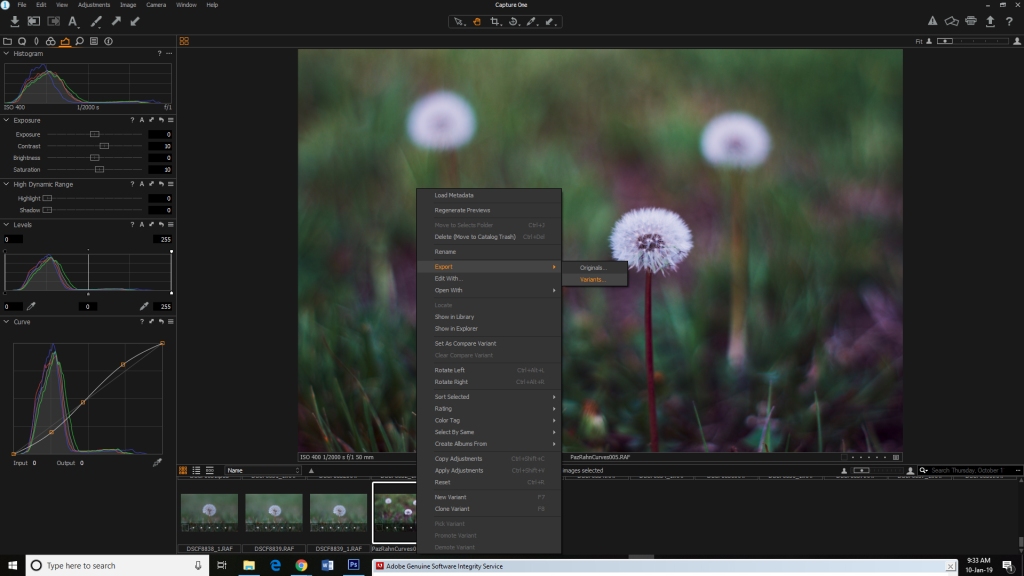
[•] Capture One Export Image & Save as Jepg
Once adjustments are finalised just Right Click the selected thumbnail image on the bottom Click Export then Click Variants. This will Export the image to your desired location ready for print or upload to favourite social media platform.
Regards,
[•] Paz Rahn
Powered by all things Photography
